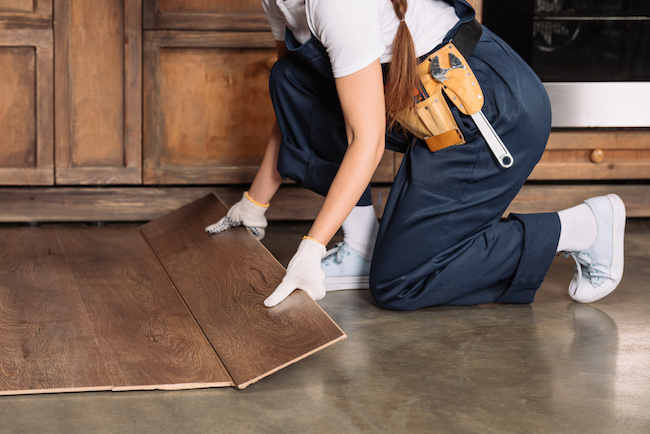
Test the Flooring Layout
Test-fit some laminate planks to glimpse how they’ll lay out in the space. For a small- to the medium-size area, it’s easiest to use the flooring rather than measuring and estimating for a small- to the medium-size area. Position planks side-by-side across the room. You can lock the side joints together or butt the planks against one another; be careful not to step on the flooring if the joints are not sealed together.
Install the Underlayment or Vapor Barrier
Flooring manufacturers always suggest putting down underlayment before applying the laminate. This thin, dense foam layer helps absorb sound, delivers a thermal barrier, makes it more comfortable to walk on the laminate, and allows the flooring to bridge minor gaps and bumps in the underlying floor:
- Roll out sheets of underlayment and butt the edges concurrently, so they are touching but not overlaying.
- Secure the seams with tape, as suggested by the manufacturer. Some underlayments come with peel-and-stick adhesive edges used to bind the pieces.
- Using a utility knife, cut the underlayment to fit against the walls and obstructions.
Begin the First Row of Planks
Snip off the tongues (not the grooves) from the boards that will rim the first wall. Often, this is simple enough to do with a pointed utility knife, or you can use a table saw or circular saw. Next, begin applying the first row on the longest wall, with the shortened edges of the planks against the wall. Start on the right side and work to the left. Next, lay down a full-size plank against the wall, spacing it about 1/4 to 3/8 inch (as directed) away from the wall and making sure the groove edge faces out—place scrap wood spacers between the flooring and the wall to preserve this gap.
Proceed with extra full-length planks, working toward the left to the end of the space. As you work, lock each piece to its neighbour using a hammer and a tapping block or pull the bar to snug up the joints. The end joints should be sealed with no gaps. Some manufacturers recommend tapping the planks with a rubber mallet to help close the end joints.
Finish the First Row
The last plank will probably be too long once you reach the left end of the first row. Estimate the length needed and transfer that size to a full-size plank, measuring from the right to the left side so that the tongue-end of the plank is kept to bind to the last full plank. Be sure to account for the expansion gap at the wall. Cut the plank to length with a circular saw or jigsaw. Keep the cut-off end; this will form the first plank in the second row, starting back at the right side of the room. Fit the final cut piece into the first row of flooring and secure the tongue and groove end joint. A pull bar is convenient at the end of a row.
Plan the Next Rows
Moving from right to left, the last piece in each row will always be cut off, with the cut-off piece from the left shifting down to begin the next row of flooring on the right. The rows of laminate planks should have a staggered, sawtooth appearance so that seams never line up in adjacent rows. This would be unsightly, but it would also compromise the structural stability of the flooring. It’s best to keep cut pieces no less than 16 inches long, but the cut lengths can go as short as 1 foot with an excellent stable, flat subfloor. If you find that your first row leaves you with a concise cut piece on the left end, it’s best to reconfigure the row, to begin with, a partial board on the right end. This will ensure that the cut plank on the left is an acceptable length.
Continue Laying More Rows
Install the planks for the second and subsequent rows, using a similar but slightly different technique than you used for the first row. For these rows, hold each piece at a 45-degree angle and insert the long tongue edge into the groove of the planks in the preceding row, then lower the amount flat to the floor to lock the joint. Finally, tap the piece into its neighbour in the same row with the hammer and tapping block or pull bar (on all but the first piece in each row).
Install the Last Row
Unless you are fortunate, you will need to rip your last row of planks to finish the room’s flooring installation. Mark planks in this previous row for pulling, allowing for the 1/4-inch expansion gap between the flooring and the wall. Rip the final row of planks using a circular saw, table saw, or jigsaw. Install the last row of ripped planks using the same tongue-and-groove fitting technique. This can be tricky with the last row of planks since you are working tight against the wall. But even in tight spaces, such as beneath a cabinet overhang, you should still have enough room to angle the board up to get it into a locking position. Complete the installation by removing all spacers, then installing baseboard moulding along the room’s perimeter. The moulding should entirely hide the gaps along the walls.

